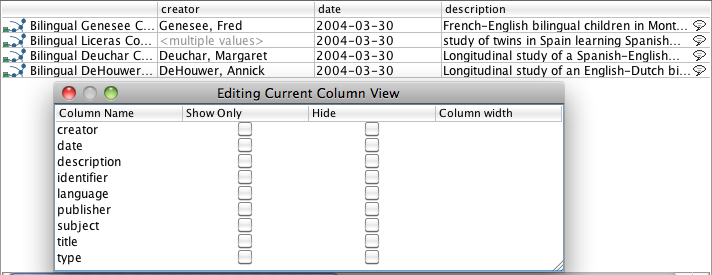
When viewing/editing multiple elements in a table, sometimes there are many columns to go through. It is possible to reduce them by choosing which columns you want to see or which columns you want to hide. Right click the header of any column, i.e. Name, and select the option Edit this Column View. In the window that pops up, you can select the columns that you want to show Show Only or hide Hide (if you check only the Hide column, the unchecked field names will be shown in the table). It is important to know that the column(s) which are hidden through this particular window, are not removed from the corpus itself.
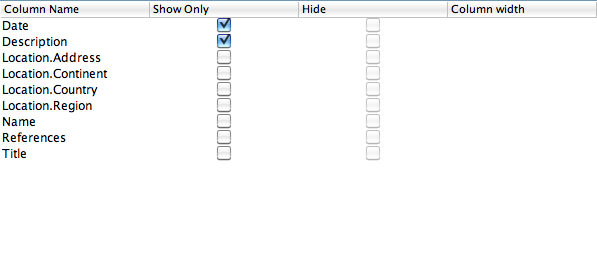
So let's say that you have Date and Description marked as Show only (see figure below). This means that if you would now use this window to check out a node that has other categories than the ones selected with the option Show only, then these categories will not be displayed. So the window in this particular example will only have two columns.
If you have a table with: Name, Title and Description and you set the Description to Hide, it means that Description will never be shown. But if the elements that you add to the window have other categories, these will still be displayed and the number of columns will increase accordingly (assuming that you don't use the show only option).
One more option of customizing the column view is the function Limit View to Current Columns, which you will find by right clicking the header of a column. When chosen, this mode will freeze the current columns view, meaning that no matter what element you add to the window, only the current categories (columns) will be shown.
It is also possible to set the width of the columns by dragging the right or left edge of the column. This applies to arbitrary open tables as well as saved column views.
It is also possible to hide a column from the current view. To do so, right click on the column that you do not want to be displayed and choose This column (...) > Hide Column.

![[Note]](images/note.png) | Note |
|---|---|
The right click menu option This column (...) also serves to adjust the size of the columns. Through the secondary options (see figure above) you can either make the column size fix (Fixed column size) or to make the columns big enough in order for their content to fit (Make column fit contents). |
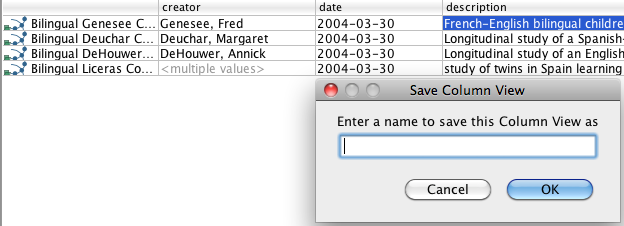
Once you have hidden the unnecessary columns, you can save this view by right clicking any of the headers of the columns and choosing Save Current Column View. Give the column view a name and select OK.
Currently it is NOT possible to delete the column views that you create.
The view you have just saved is also applicable to other tables. Right click the header column of the new Table, select Column View for this Table and choose the view you want. By default, there are two views already defined and cannot be modified: All (i.e. all columns are displayed), and Minimal (i.e. only Name, Title and Description are displayed). It is important not to forget that each view you create initially is window specific. In this way you can use different views for different windows.
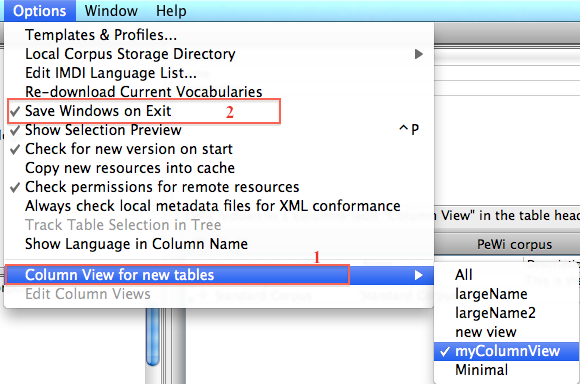
It is also possible to set your modified column view as the default column view that will appear in all tables you open. To do so, go to Options menu in Arbil toolbar, select Column View For New Tables and the preferred column view. This is now your default column view. (see number 1 in the figure below).
| Note |
|---|---|
Column views that have been modified and multiple open windows in the working area, either saved or unsaved, are available after closing Arbil once the programme starts again exactly in the same way they were before closing it provided the Save Windows on Exit is activated in the Options menu (see number 2 in the figure above). |