The Workflow briefly described how corpora and sessions can be created in or imported into Arbil's Local Corpus tree. Once you have a session (can also be a sign-language session or any other type) in your Local Corpus, you can modify it and (if compatible) add resources from your Working Directories to it.
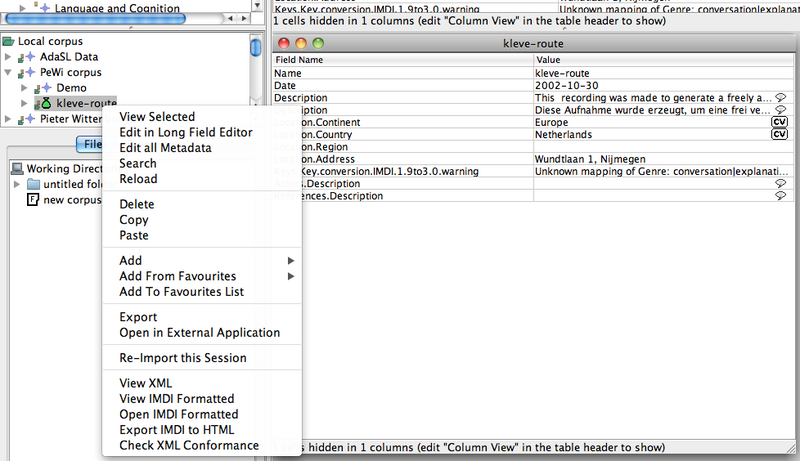
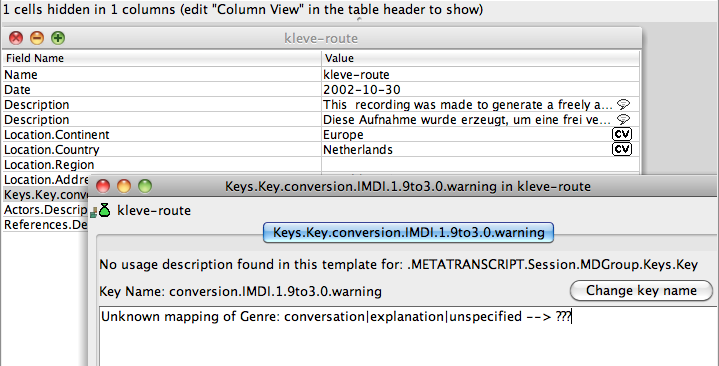
To edit, just right-click the session (see Figure 4.1), or "drag and drop" the session node to the working area, or edit the fields directly in the Selection Preview. In the working area, session and node data are presented in the form of spreadsheet tables, and can be edited in ways that should be familiar to users of office suites such as OpenOffice.org™ or Microsoft Office®.
To add resources just "drag and drop" them from your Working Directories to the appropriate session node in your Local Corpus. Arbil will automatically create subnodes called MediaFiles (for pictures and video data) and WrittenResources (for text files) where you can find your resources and edit their metadata just as you would do it with the session itself.
Depending on the node type, you can add different additional sub-nodes (like Actors for Sessions) via the right-click menu. In most cases additional Description lines can be added this way.
To edit single cells just select them (by clicking on them) and type in your new value.
Some fields have a controlled vocabulary and will ask you to select a value from a drop down list instead of allowing you to enter text freely. An example for this is a media file's type (which Arbil tries to determine automatically for you): Arbil allows you to select from unknown, unspecified, audio, video, image, document, drawing, and text.
The Long Field Editor(see Figure 4.2 ) makes it easier to enter longer texts, or texts that contain line breaks. To edit a field/ cell with the Long Field Editor either double-click it, or press Ctrl+Enter, or right-click and choose Open in Long Field Editor.