Previewing the printed pages
The fine tuning of the print result can be done by opening the Print Preview window, which is accessible via the menu.
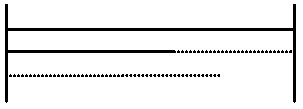
Figure 24. Print preview
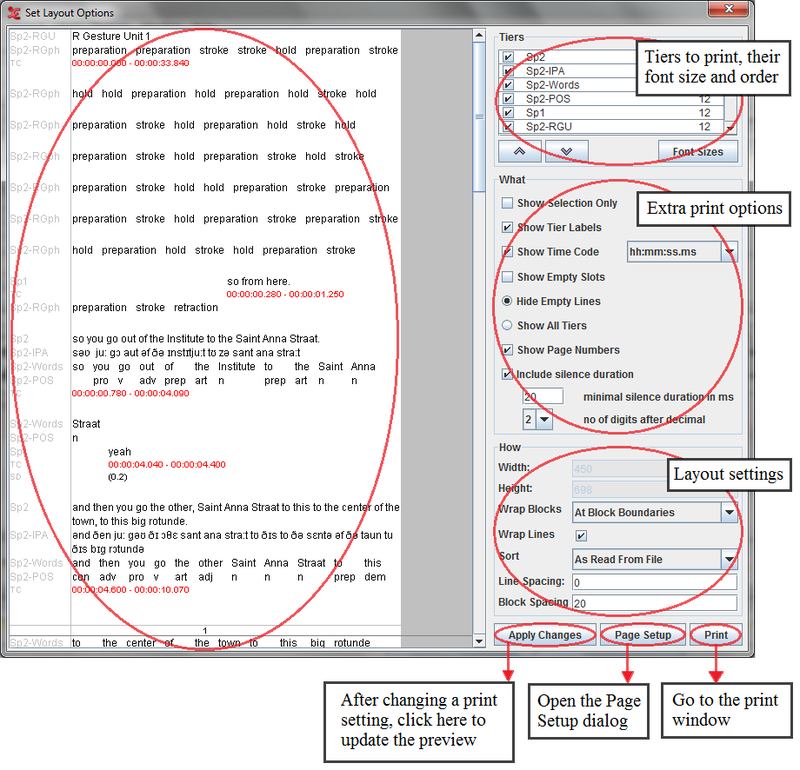 |
Tiers settings:
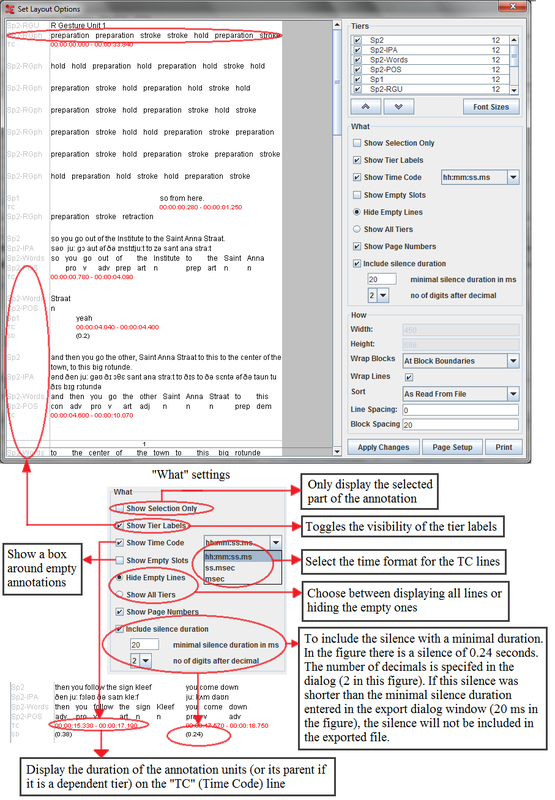
Put a check mark in front of all the tiers that should be printed.
Arrange the order of the tiers with the
 buttons.
: click this button to get an advanced selection dialog window (see the section called “How to select tiers” ).
The font size of the tiers can be adapted by clicking on the button. A new window will appear:
Figure 25. Font sizes

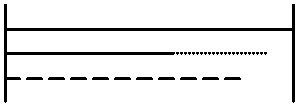
After choosing the desired font size, click on the button in the Print Preview window. After that, the changes will appear:
Figure 26. Print preview after changes
 |
Width: specify the width of the printed area (in pixels). This value can only be changed by selecting a paper format in the dialog (see the section called “Configuring the page settings (page setup)”).
Height: enter the height of the printed area (in pixels). If you leave this empty, the default height will depend upon the selected paper size.
Wrap Blocks:
No wrapping: use 1 line for each tier, only usable for files that contain a small amount of annotations.
Within block: wrap blocks, and continue with a new block on the same line if there is space left.
At block boundaries: wrap blocks, and continue with a new block on the same line if there is space left and if the new block fits on that line.
Each block: wrap blocks, and start on a new line if a block ends.
Sort: specify in which order the blocks will appear. This is similar to the tier sorting function (see the section called “Sorting tiers”).
Line spacing: amount of white space between the lines (default: 0 pixels).
Block spacing: amount of white space between the blocks (default: 20 pixels).